On-Demand-Schedulers With MuleSoft CloudHub APIs
In this article, learn how to use MuleSoft's CloudHub APIs to run schedulers of an application on demand as well as how to access payload in HTML.
Join the DZone community and get the full member experience.
Join For FreeIn some projects, there might be many scheduler-based applications, and the testing team from either source or target systems doesn't have access to the Anypoint platform to run schedulers whenever required; thus, having to rely on MuleSoft developers to run the schedulers for them. In this article, you will learn how to create a simple web page using HTML for fetching the user's input and use CloudHub APIs to run the schedulers based on the user's inputs provided.
This will save a lot of time for the testing team to test the integration in the lower environments. I would recommend not using this for testing in production as if someone misuses it by running the schedulers more frequently, then integration might break.
Implementation
Step 1
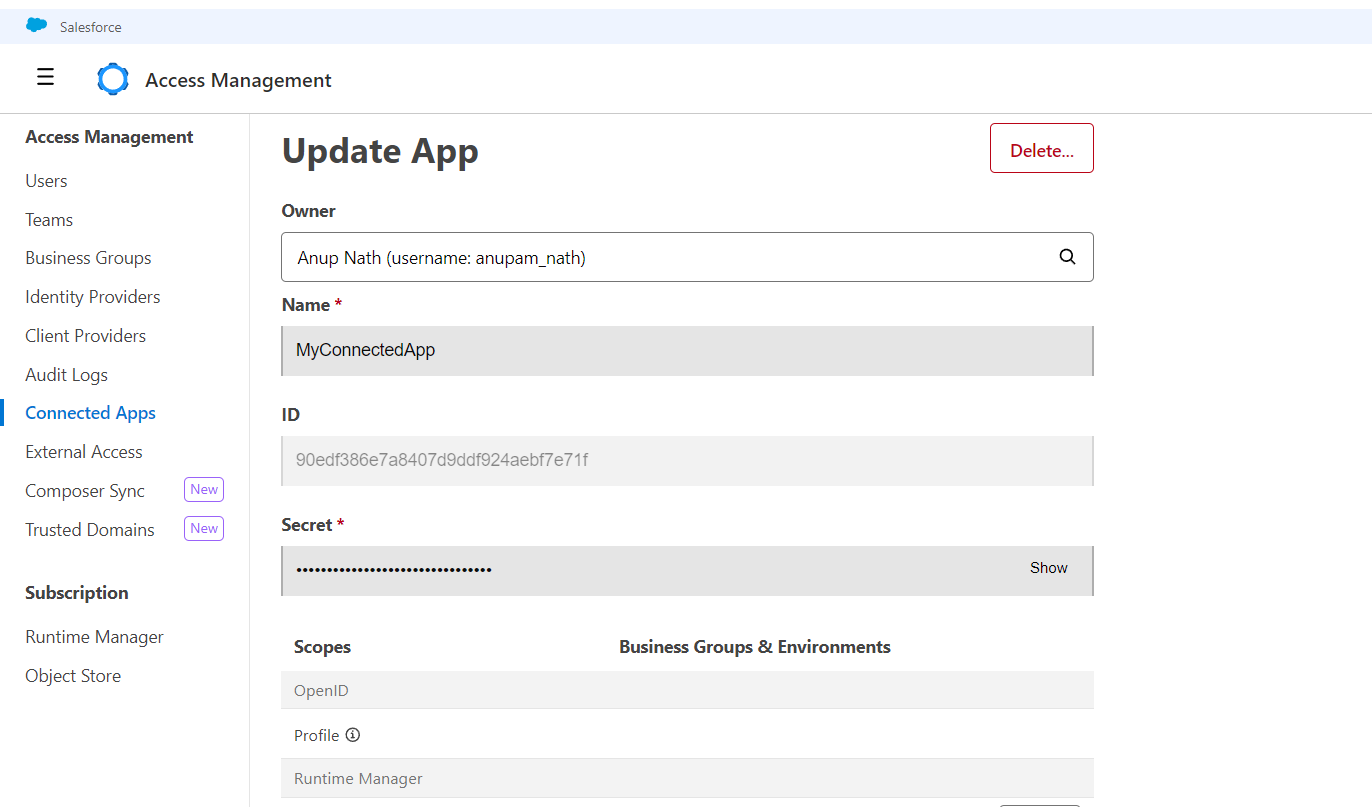
Go to Anypoint platform and create a Connected App in Access Management for using CloudHub APIs. Limit the scope of the Connected App to Runtime Manager only. You can go through this MuleSoft document to learn how to create a Connected App in Access Management.

Copy the Client ID and Secret, which will be used for fetching the access_token to authenticate requests for CloudHub APIs.
Step 2
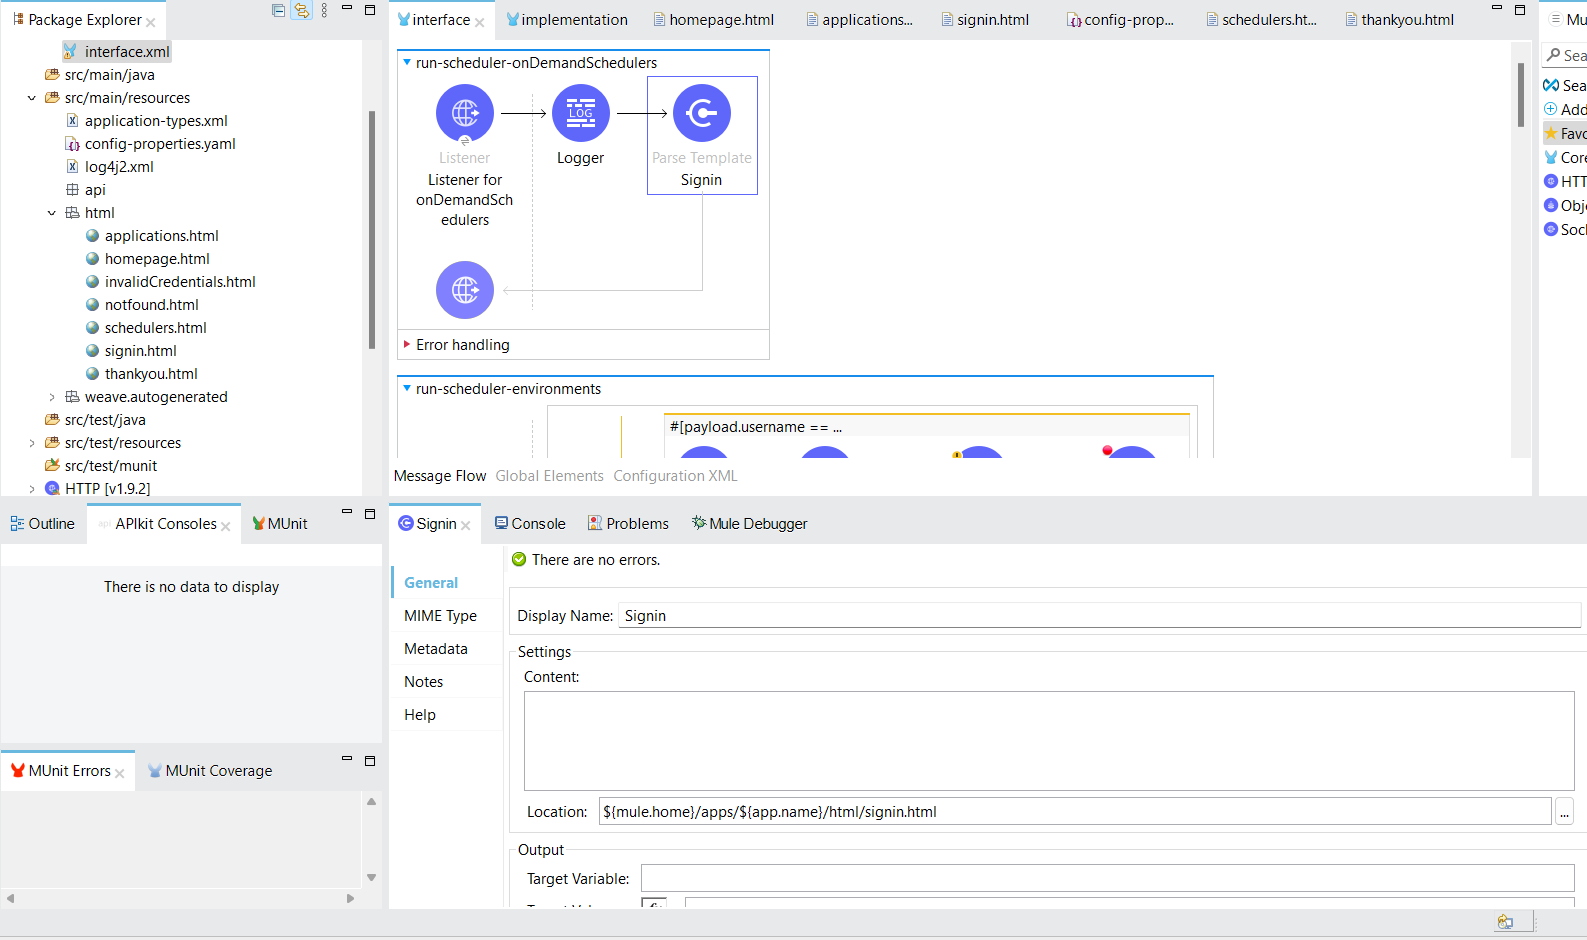
Create a new Mule application in Anypoint Studio and create the following HTML files inside src/main/resources:
- applications.html
- homepage.html
- invalidCredentials.html
- notfound.html
- schedulers.html
- signin.html
- thankyou.html
First, create the flow as shown below. This is the entry point of the application which will open the Signin web page using the Parse Template component.

